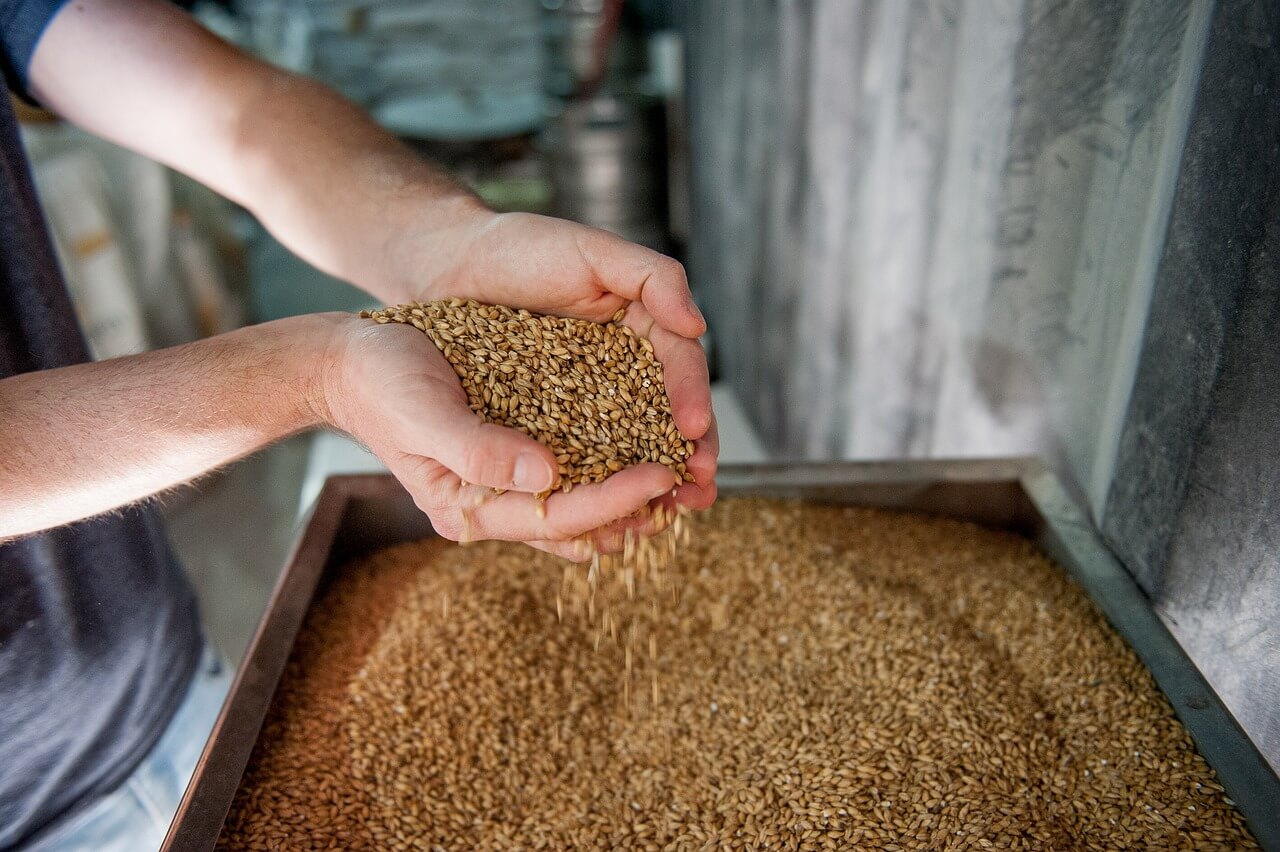
When we talk about brewing, we often mean the entire beer-making process from start to finish: from choosing the recipe to purchasing the ingredients – hops, yeast, malt, etc. – to cleaning the equipment, extracting the malt, boiling, bottling and (always saving the best for last) tasting your finished brew. However, brewing more specifically refers to the process of extracting sugars from malted grains.
Malt extract is a concentrate of malt that has already been brewed and is sold in either liquid or powder form. It can help brewers get started, allowing them to focus on the hopping and fermentation stages. It can also be used to correct the density at the end of boiling during all-grain brewing.
BREWING FROM MALT EXTRACT
As a general rule, keep in mind that :
1 kg of powdered malt extract = 1.6 kg of malt
1 kg of barley malt = 0.62 brewed from powdered malt extract
1 kg of liquid malt extract = 0.80 kg of powdered malt extract
1 kg of liquid malt extract = 1.30 kg of malt
Starting with brewing from extract allows you to invest more time in equipment related to all-grain brewing (crusher, filtration system, digital thermometer).
Creating the wort
Step 1: Inventory, cleaning, sterilisation
The most suitable place for brewing is the kitchen. It is always wise to make an inventory of all your equipment and ingredients before starting your brew. Any equipment that will come into contact with the cooled wort before fermentation and the beer must be thoroughly cleaned with a cleaning product and disinfectant (Chemipro OXI, Star San HB, etc.). One of the keys to success is cleanliness! Contamination of the brew by bacteria can lead directly to its spoilage, as foreign organisms (such as wild bacteria and yeast) will develop more quickly and eventually take over your brewing yeast. The boiling stage acts as a pasteurisation process, but once your wort has cooled, all equipment that comes into contact with it must be disinfected.
For information, to brew 20 litres of beer you will need approximately:
5kg of malt extract, to achieve a density (before fermentation) of around 1095 (i.e. 9.6% v/v alcohol)
4 kg of malt extract, to achieve a density (before fermentation) of around 1075 (i.e. 7.6% v/v alcohol)v alcohol)
3 kg of malt extract, to achieve a density (before fermentation) of around 1055 (i.e. 5.7% v/v alcohol)
Step 2: Treatment of the brewing water It is a good idea to boil your brewing water for around 30 minutes to remove any volatile chlorine and purify it. Leave it to cool in a clean, covered container, but keep it as it may be useful when making your wort. You can also use spring water, which does not require this precaution.
Step 3: Preparing the wort from the extract
Pour the water, which has been heated the day before, into a large saucepan. While heating (80-100°C), pour the malt extract from the recipe into the water and mix well to avoid lumps forming. When the mixture starts to boil, it often produces a lot of foam, so be careful not to let it boil over. Remove the pot from the heat and the foam will subside on its own. Some kits include infusion grains (Maillard malt). Add these grains to the water (60-78°C) and let them infuse for 20 minutes. Be careful not to let the temperature exceed 78°C during these 20 minutes.
Step 4: Hopping
Hops are best extracted in a high volume of less concentrated wort, which also prevents the wort from burning if it gets too hot. The malt extract recipe requires the addition of aromatic and bittering hops. The hopping phase begins with the addition of the first hops (usually with a bittering profile) as soon as the temperature reaches 100°C. The bitter compounds dissolve in the wort during boiling, and a minimum boiling time of one hour is required to achieve a good extraction rate. We recommend using a hop bag to contain the hops and make them easier to remove at the end of cooking (nylon bag). The aromatic hops are added towards the end of brewing and at the end of boiling, we recommend performing a whirlpool. This involves creating a whirlpool in your wort so that the impurities from the hops gather in the centre of your tank.
Step 5: Cooling the wort - Whirlpool
There are several techniques for cooling the wort (natural method, cooling coil, plate exchanger). In all cases, it is important to cool the wort as quickly as possible because infections easily form at temperatures between 20 and 70°C. As we reach these temperatures during cooling, it is very important to use clean and sterile materials. Natural cooling can be lengthy and dangerous for the wort, which is exposed to an increased risk of infection until it has fermented. If you choose this method, close your container with its lid. Place your container in the sink, which has been filled with cold water. Replace the cooling water regularly until the wort reaches the ideal temperature for your yeast (see instructions on the packet – usually 20°C). It is important to take care not to contaminate your wort, for example by allowing cooling water to mix with your wort or by allowing the cooling time to become too long. Transfer the contents of the wort to your fermenter containing the rest of the water heated the day before to achieve the desired volume of beer. Stir with a sterile spatula and add the yeast at the same time. The purpose of stirring is to add oxygen to your wort so that the yeast can multiply.
Remember to measure the density by taking a small sample of the wort in a sterile manner to determine the alcohol content. Discard the sample after measuring. Close your fermenter and fill the airlock moderately with sterilising liquid or water containing a little rubbing alcohol. Place it in the designated location for your fermenter.
Read other articles : Does brewer's yeast help you lose weight ? and Goose Island beer, the American kings of barrel aging

